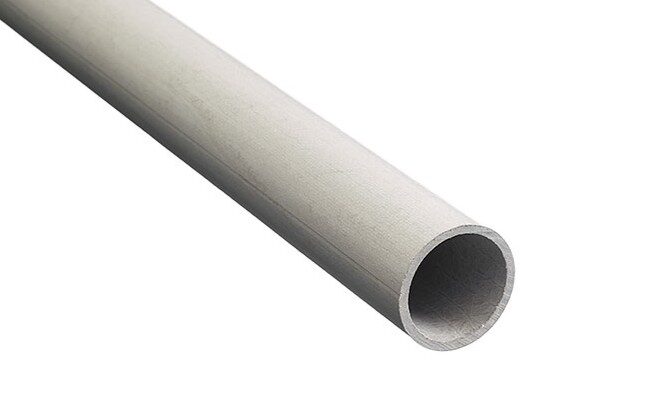
Home | Produkte | GRP-Products | GRP-profiles | GRP-profiles round tube profile
GRP-profiles are manufactured using the pultrusion process (from “to pull”). This production method is characterized by a continuous manufacturing process of consistently high quality. The glass fibers used to reinforce the profiles are pulled through a guide head and then through a heated tool. In the tool, the fibers are impregnated with the resin mix and cured by heating to the desired geometry.
The profiles are produced in a continuous process and are cut to size directly after pultrusion. The common standard lengths are 6,000 and 12,000 mm – other lengths are also possible depending on quantities.
Good resistance to chemical media
Can be used in aggressive environments
Durability: Good corrosion and weather resistance
Easy handling and processing
available in many versions
Also available in other colors with corresponding order quantities
Low assembly and transportation costs
Heat and cold resistant
No sparking

We offer you a wide selection of GRP-profiles for a wide range of applications. The following table shows an overview of all available variants.
Note: Items marked with * are available directly from stock.

| Minimum distance | e | c | P1 | P2 |
| Load in longitudinal direction of the profile | 2.5 ds | 2 ds | 4 ds | 4 ds |
| Force perpendicular to the direction of pultrusion | 2.5 ds | 2 ds | 4 ds | 4 ds |
ds = screw diameter
dL = hole diameter
| Ring/screw | M8 | M10 | M12 | M16 | M20 |
| ds (mm) | 8 | 10 | 12 | 16 | 20 |
| Outer diameter of the washer | The washers must have a particularly large diameter of at least 3.4x ds. | ||||
| MA (Nm) | 16,8 | 33,2 | 59 | 141,2 | 275,3 |
| FV (kN) | 11,1 | 17,48 | 26,24 | 47,07 | 73,42 |
| Outer diameter of the washer | Washers with a diameter of at least 3.0 x dS should be used for screw connections that are only used to secure the position. | ||||
| MA (Nm) | 5,73 | 11,6 | 20,9 | 50,7 | 98,6 |
| FV (kN) | 3,78 | 6,09 | 9,28 | 16,91 | 26,3 |
The following hole clearance must be maintained between the screw diameter and the hole diameter:
| M8 to M16 screws: | dL – ds ≤ 1.00 mm |
| M20 screws: | dL – ds ≤ 2.00 mm |


